

From Box to Build: How to Get the Most Out of Your Createch Kit
 createch
There’s a specific kind of quiet that happens in our house on a Saturday afternoon — the good kind.
No cartoons playing in the background, no one asking to “just check something” on a phone. Just laser-cut wood pieces spread across the table, a small pair of hands sorting screws into a bowl, and the occasional triumphant “IT MOVES!”

That’s the moment every Createch kit is built for. Whether you’ve picked up a Ferris Wheel, a Walking Robot, an RC Jeep, or one of our Real World Replicas, the process is more similar than you’d think — and knowing how to approach it makes the difference between a frustrating hour and a genuinely great one. Here’s our field-tested guide.
1. Unbox Like It’s an Event, Not a Chore
Resist the urge to rip in and start building immediately. Instead, tip everything out onto a big, clear surface — a dining table works best — and let your child see the whole world of parts at once: the wood panels, the gears, the little motor, the bag of screws. This first look matters. It’s where curiosity kicks in and questions start (“what does this piece do?”). Answering “let’s find out” instead of “I’ll show you” is the whole point.
2. Sort Before You Build
Every kit comes with a checklist — use it. Have your child match pieces to the list and group them into small piles or bowls. This isn’t busywork; it’s the first real STEM skill in the box: pattern recognition and organization. For younger builders (we design from age 4 up), this step alone can take fifteen happy minutes.
3. Read the Steps Together, Out Loud
Our booklets are built to be read, not decoded. Go step by step, and let your child hold the instructions while you hold the piece — or the other way around. If your child is very young, narrate what you’re doing as you go (“this gear connects to this one, so when it turns, that one turns too”). You’re not just building a Ferris Wheel; you’re building an intuition for how mechanisms work, one sentence at a time.
4. Let Them Struggle a Little
This is the hardest part for parents. A screw that won’t quite seat, a panel that goes in upside down — the instinct is to fix it fast. Don’t. Give it thirty seconds before you step in. The motor skills and the pride afterward, we consistently hear from parents that this is the moment their child locks in — the wobbly first attempt is where the real learning happens.
5. Test It, Break It, Fix It
Once assembled, test the build immediately — spin the wheel, run the robot, launch the car. If something doesn’t work, treat it as round two of the puzzle, not a failure. Loose connection? Gear misaligned? Debugging a physical object is one of the purest STEM lessons there is, and it’s far more memorable than reading about it.
6. Don’t Pack It Away — Reimagine It
This is where Createch kits differ from most toys: the pieces don’t have to go back in the box. Encourage open-ended reuse — can the gears from the Marble Run become part of something new? Can the wood panels from a retired build turn into a fort, a shelf, or an entirely invented machine? We deliberately design components to be modular and screen-free-friendly for exactly this reason. The “second life” of a kit is often where the most creative building happens.
A Few Practical Tips
- Set aside 45–60 uninterrupted minutes for a first build — rushing is the #1 cause of frustration.
- Keep the small-parts bowl nearby for the whole session; nothing derails momentum like a five-minute floor search for a screw.
- Let the child hold the “final” piece — the one that completes the build — even if you did more of the technical work. That moment of completion belongs to them.
- Take a photo of the finished build before it inevitably gets modified, expanded, or dismantled for parts. You’ll want it later.
The Real Instructions
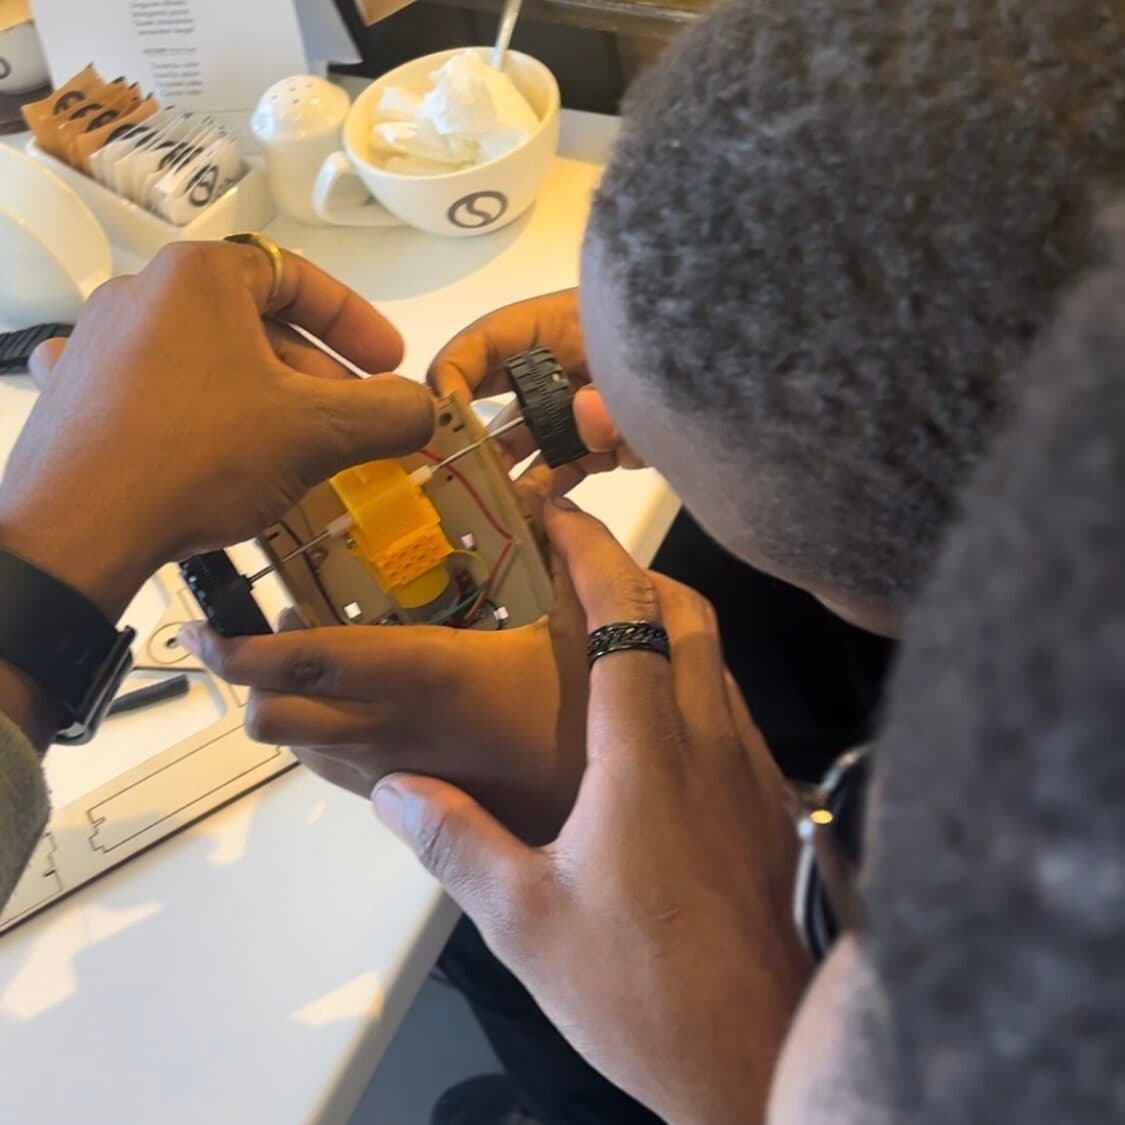
Here’s the thing we tell every parent at our build sessions at Shamba Cafe and Cotton Tree: the wood, gears, and motor are just the materials. The real project is the hour you spend across the table from your kid, solving something small together. Follow the booklet, but don’t rush past the good part.
Ready to start your first build? [Browse our kits →]